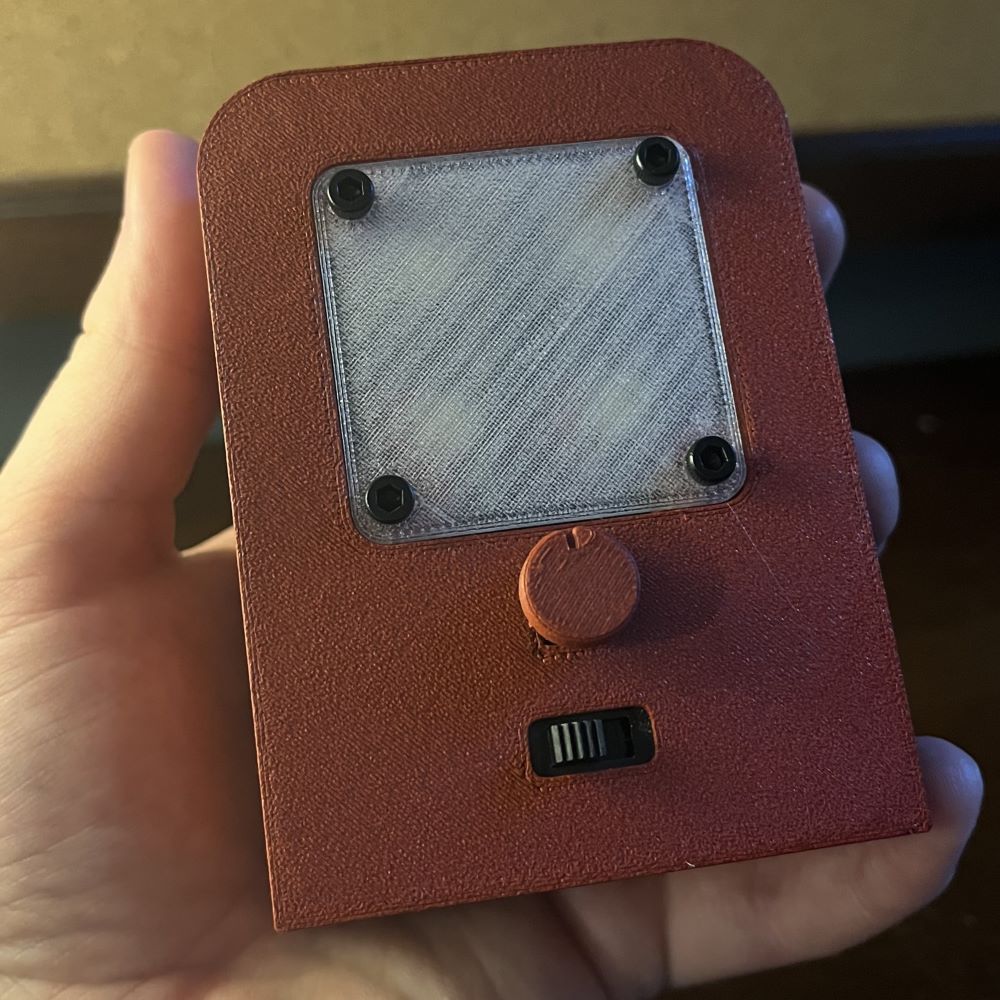
This desk lamp is a clean-looking battery or wall outlet-powered lamp. It can be turned on and off using a simple slide switch on the front and the brightness of the lamp can even be adjusted using the dial on the front. Electrically it utilizes a 5v regulator, potentiometer, special LEDs, and a slide switch.
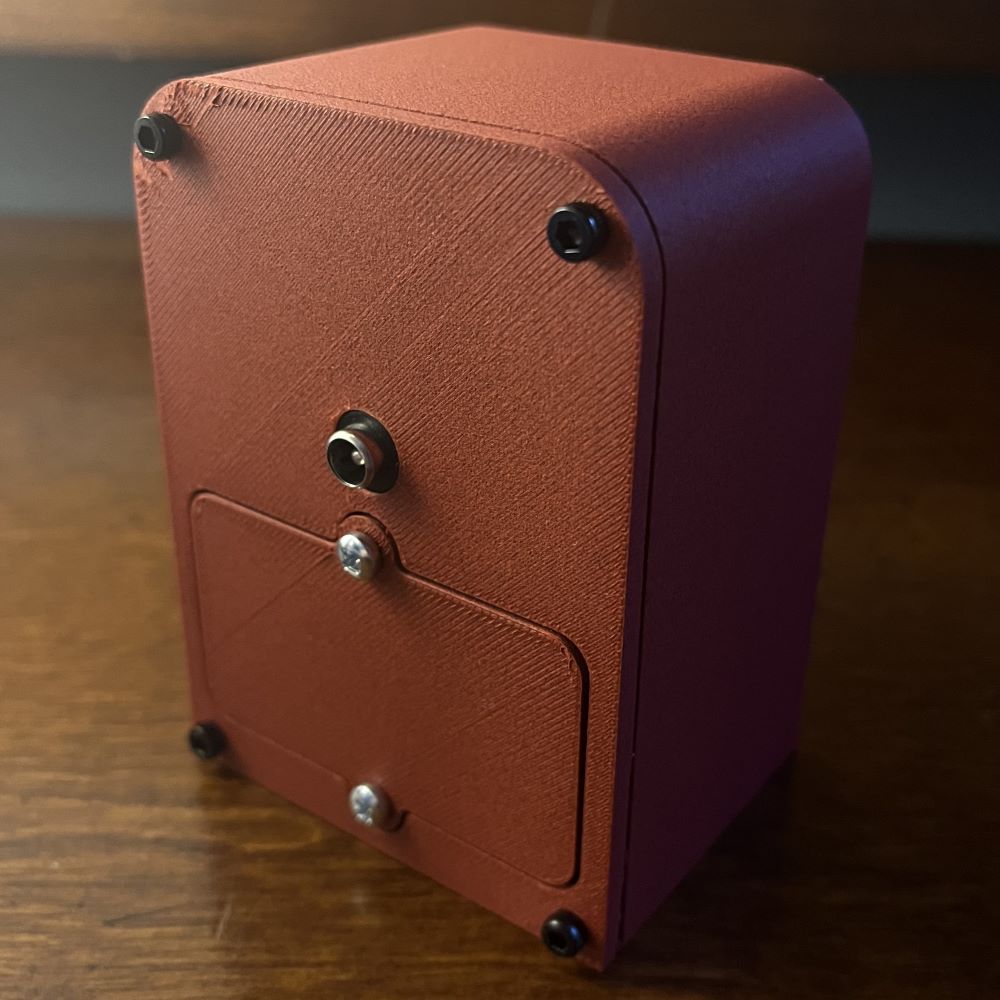
I developed this project over the course of about a day start to finish and found the most challenging part to be the design of the box. One major consideration was the thickness of the front window of the lamp as I was 3D printing that window using translucent PETG and the thickness strongly affected the brightness the escaped the housing. That in tandem with design issues of the electronics housing by far made the design portion the most difficult in this project. As for electronics, the circuit is rather simple. Just using a slide switch to a 5v regulator, then to a 100 ohm potentiometer in series with a single 100 ohm resistor, then to the LEDs in paralell is all that is needed for this project.
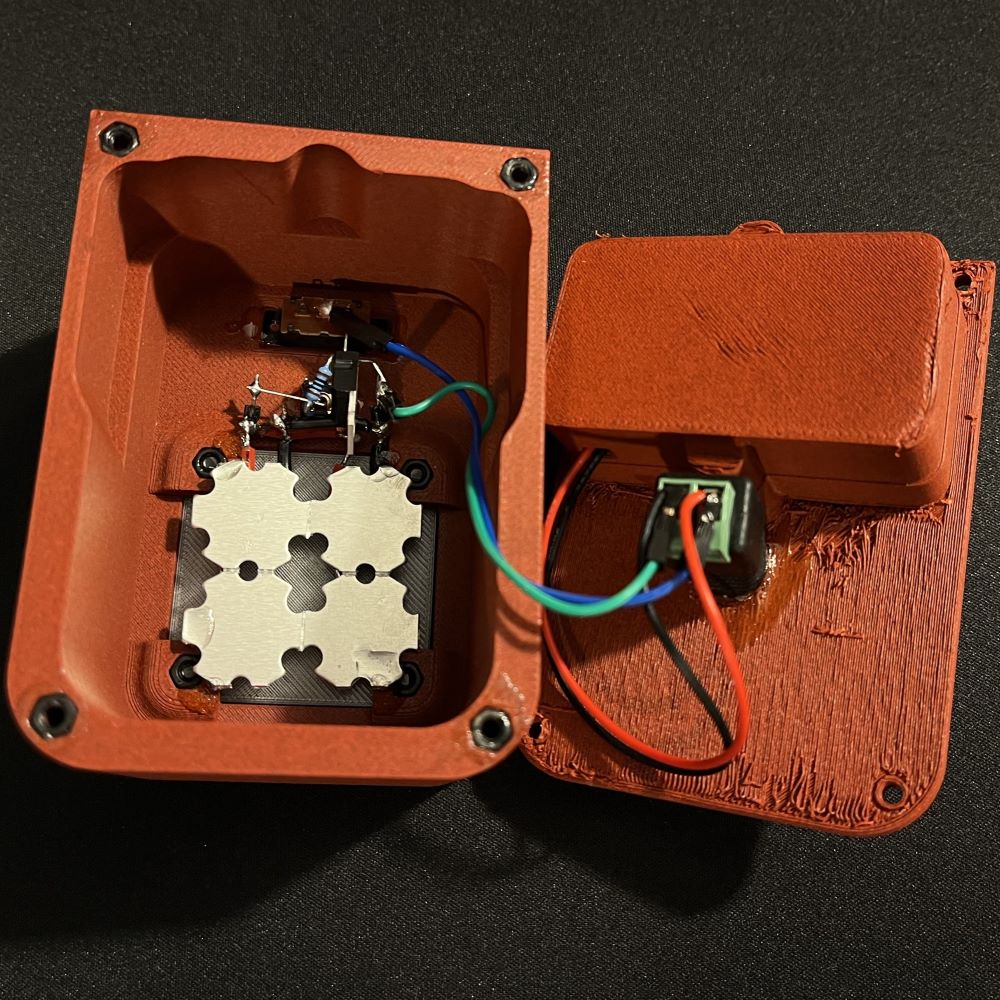
As mentioned, the circuit inside is very simple. It receives power from either a wall outlet adapter via the back or a 9v battery via the compartment to a slide switch. When switched on, a 5v regulator regulates that 9v input voltage down to 5v. The current of both are at max 1 amp as it is, so there was no need to limit current as the LEDs themselves (Called super bright LEDs) already had a current limiting resistor. From here at the Vout of the 5v regulator it reaches a junction which has a 100 Ohm potentiometer in paralell with a 100 ohm resistor. From here where the junction meets up on the other side of both the circuit goes to all 4 of the super bright LEDs wired in paralell, then to ground.
Like I said the design was probably the hardest part. I was trying to fit very large LEDs, a battery compartment, and all the needed electronics into as small a space as possible and make it look good. It took many hours and multiple full test prints before I got it right. I landed ultimately on a thickness of .125 for the translucent cover. I also made sure both that cover and every part of the container was removable and interchangable, meaning I also baked into the design places for nuts to be embedded and holes large enough for bolts to be used to bring everything together.