Coil Gun Mk. 1

Device

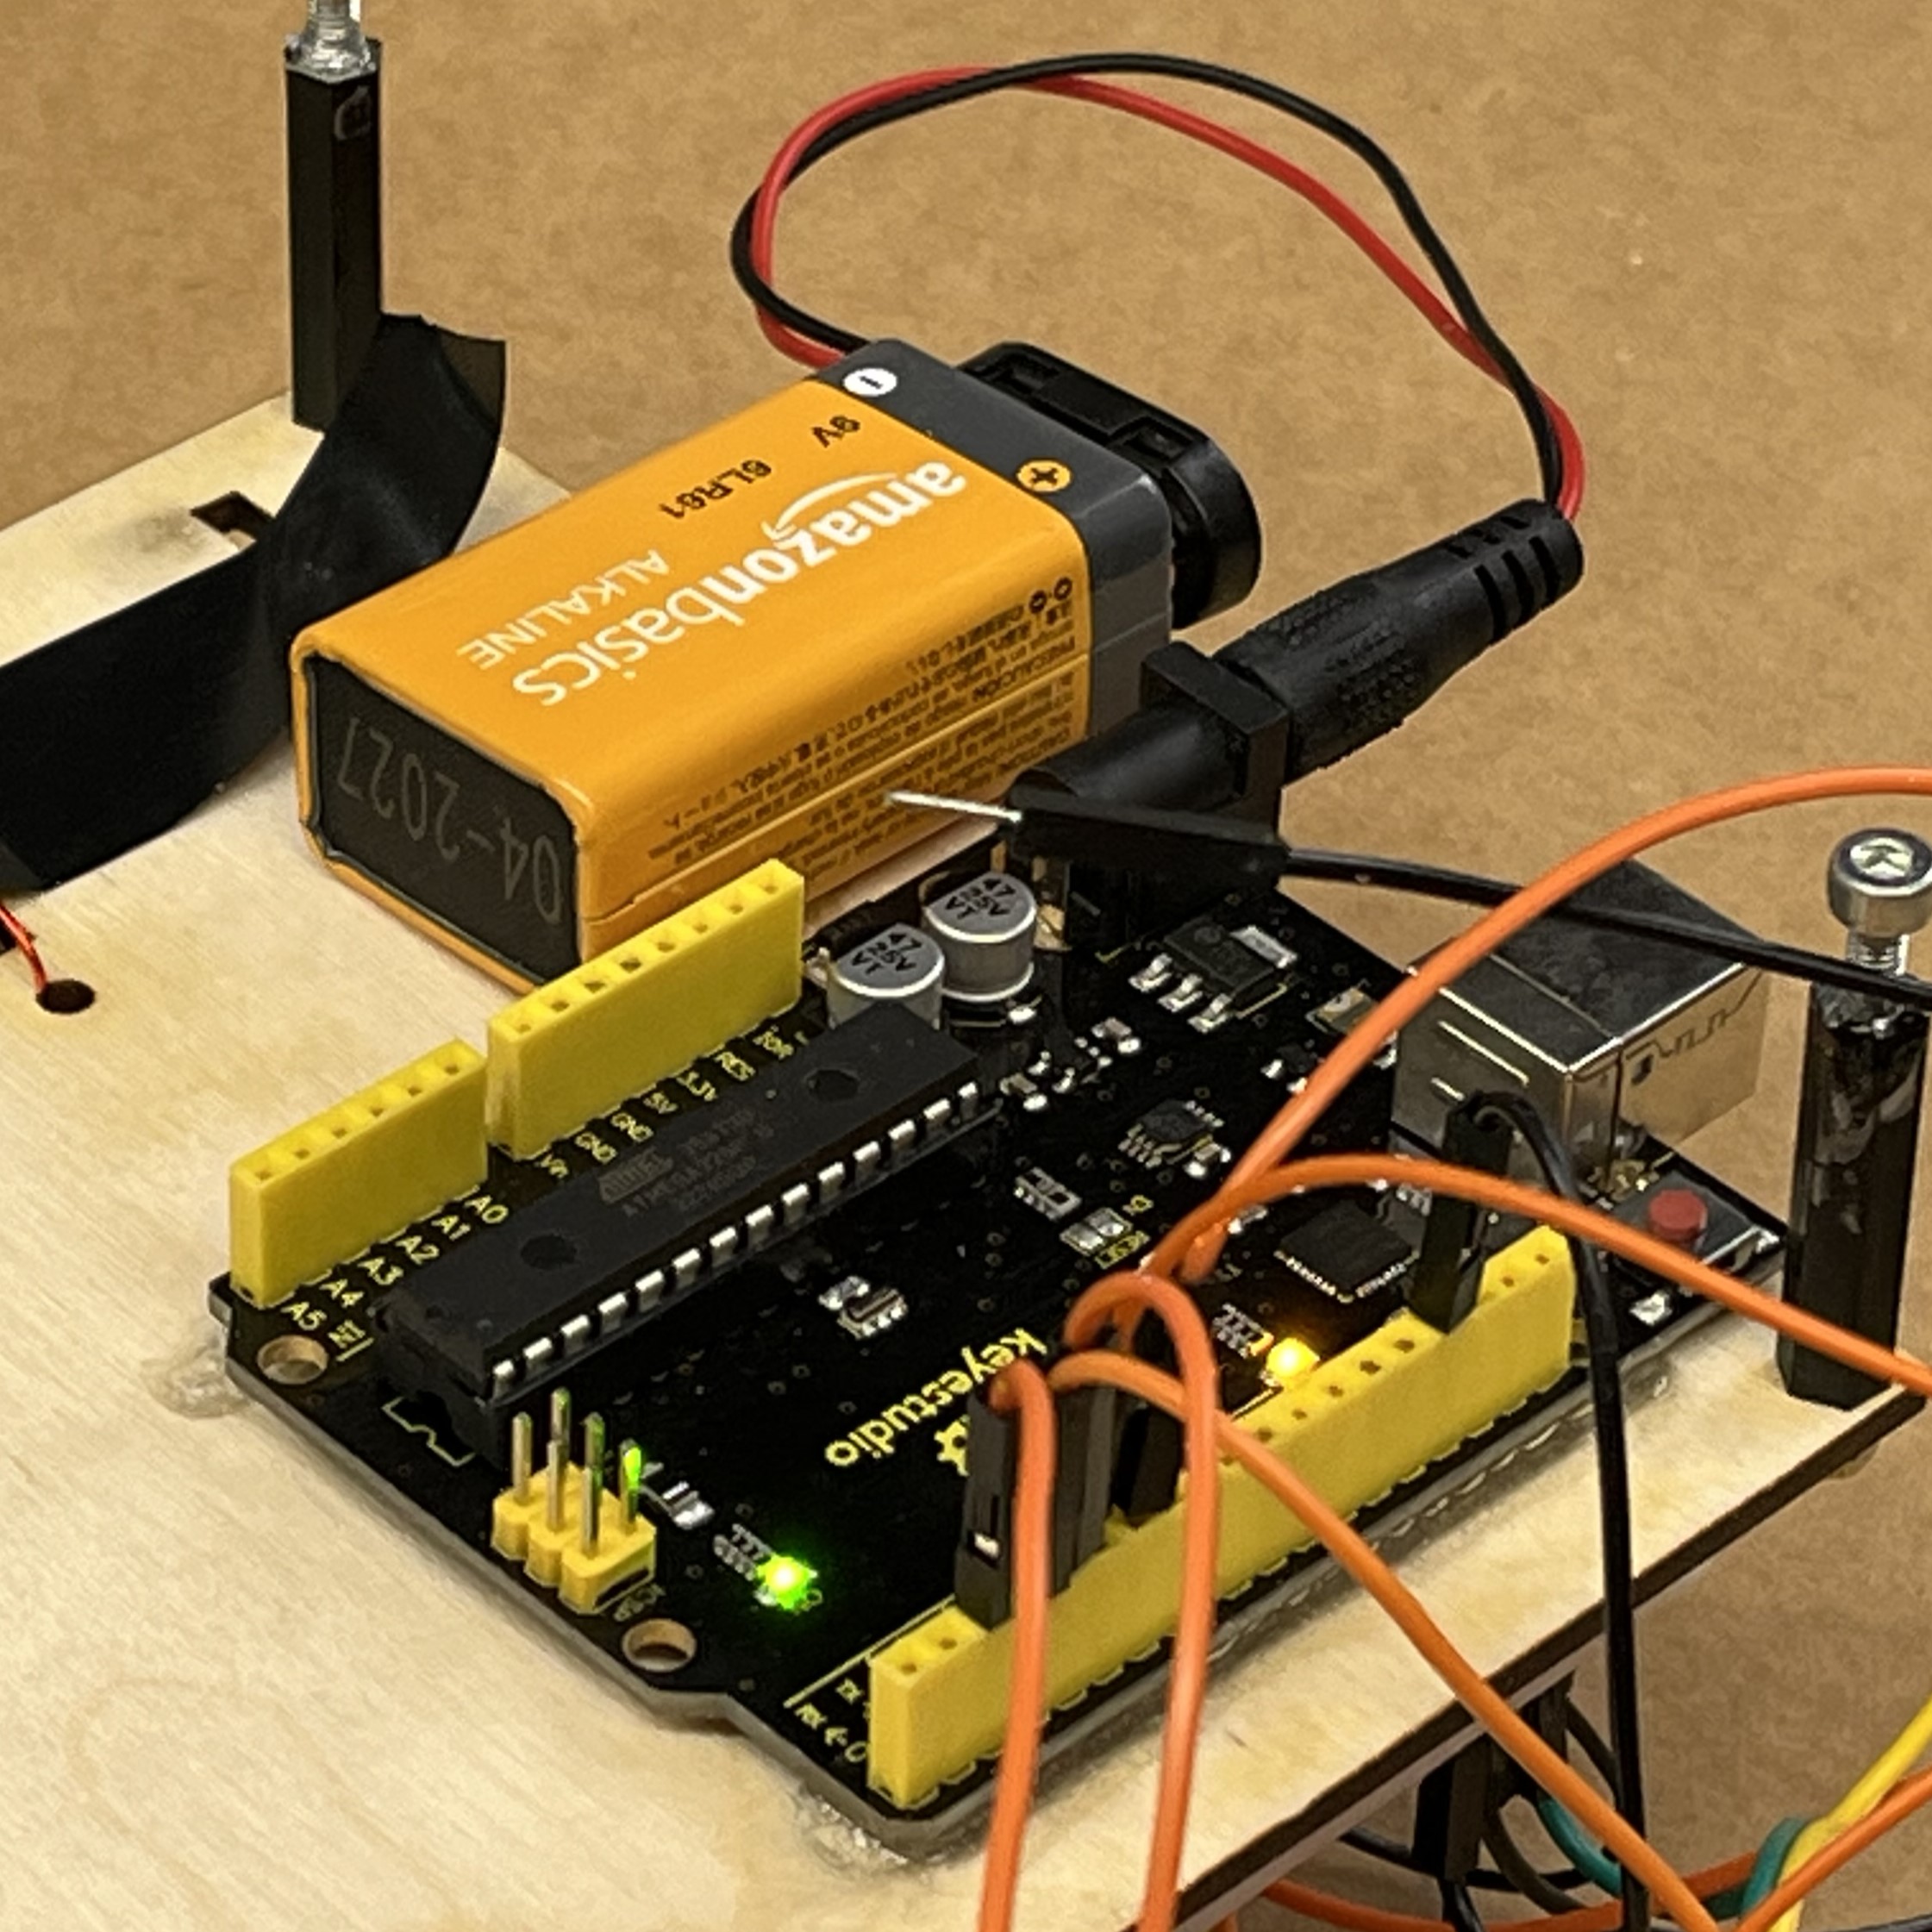
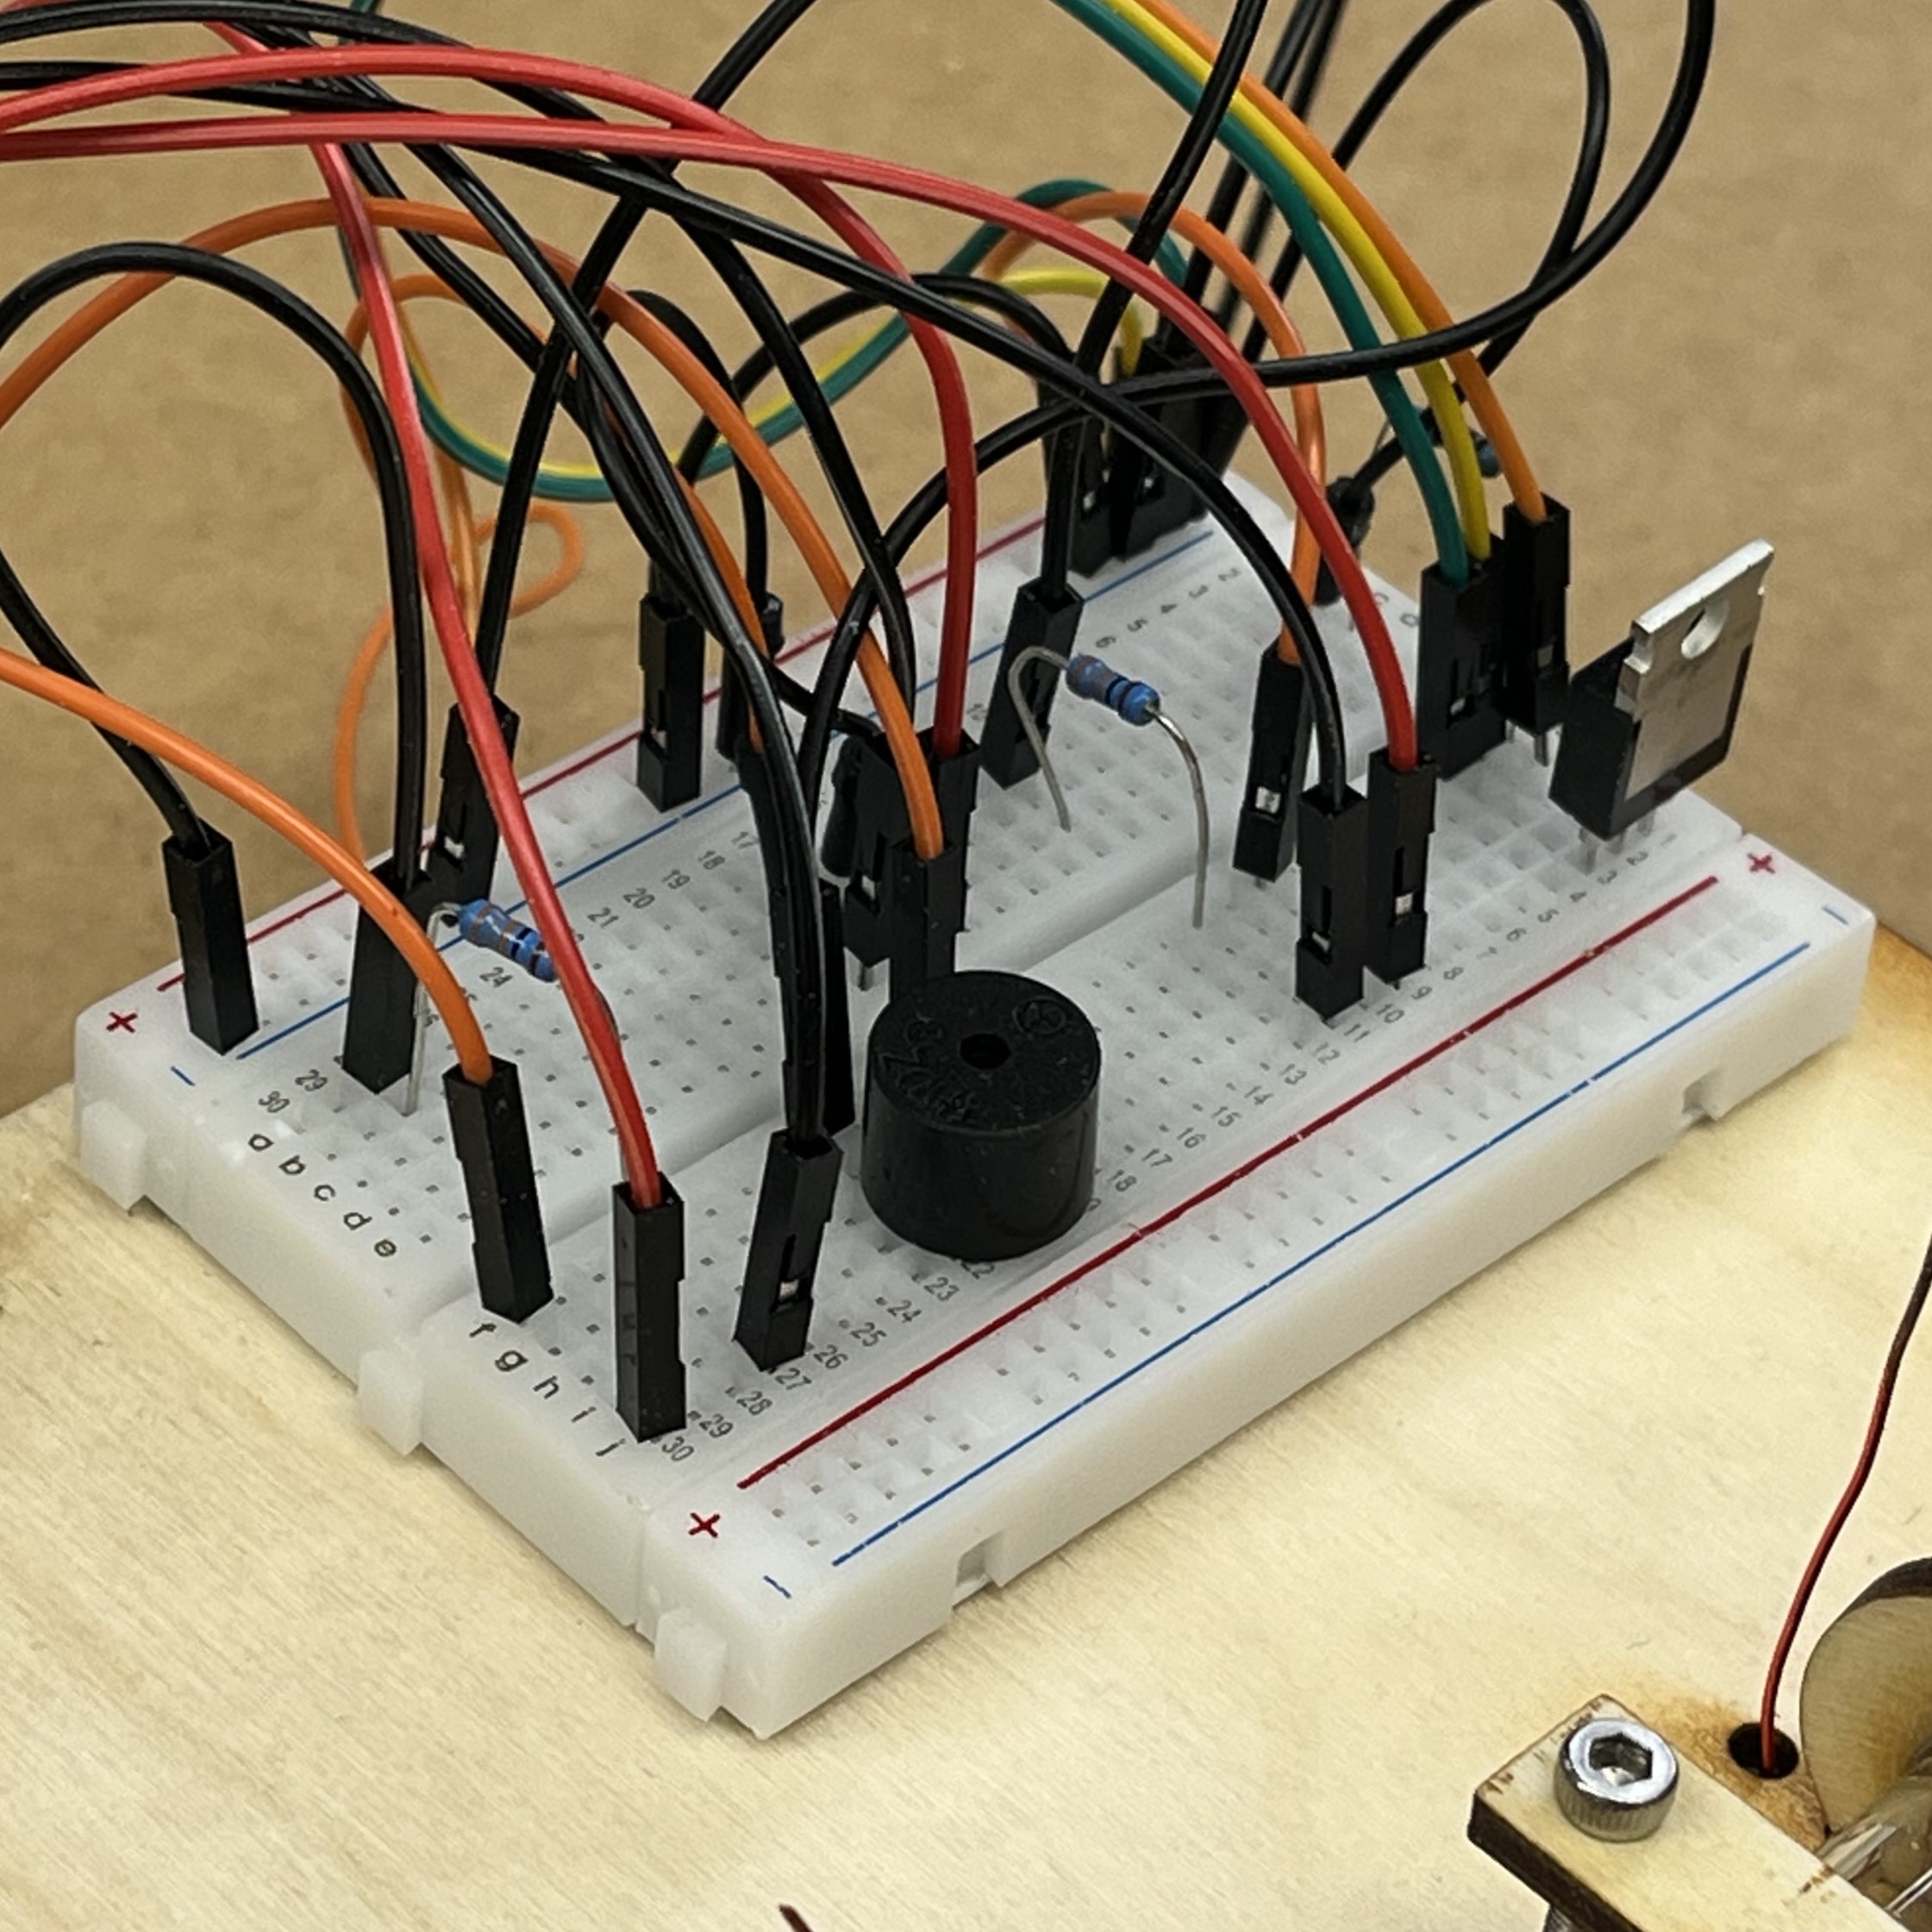
The Coil Gun Mk. 1 is a small electronic device I developed with the goal of launching small metal objects using electromagnetic induction. Powered by a capacitor bank it can shoot off a single 25v charge to about 5 feet from the launcher.

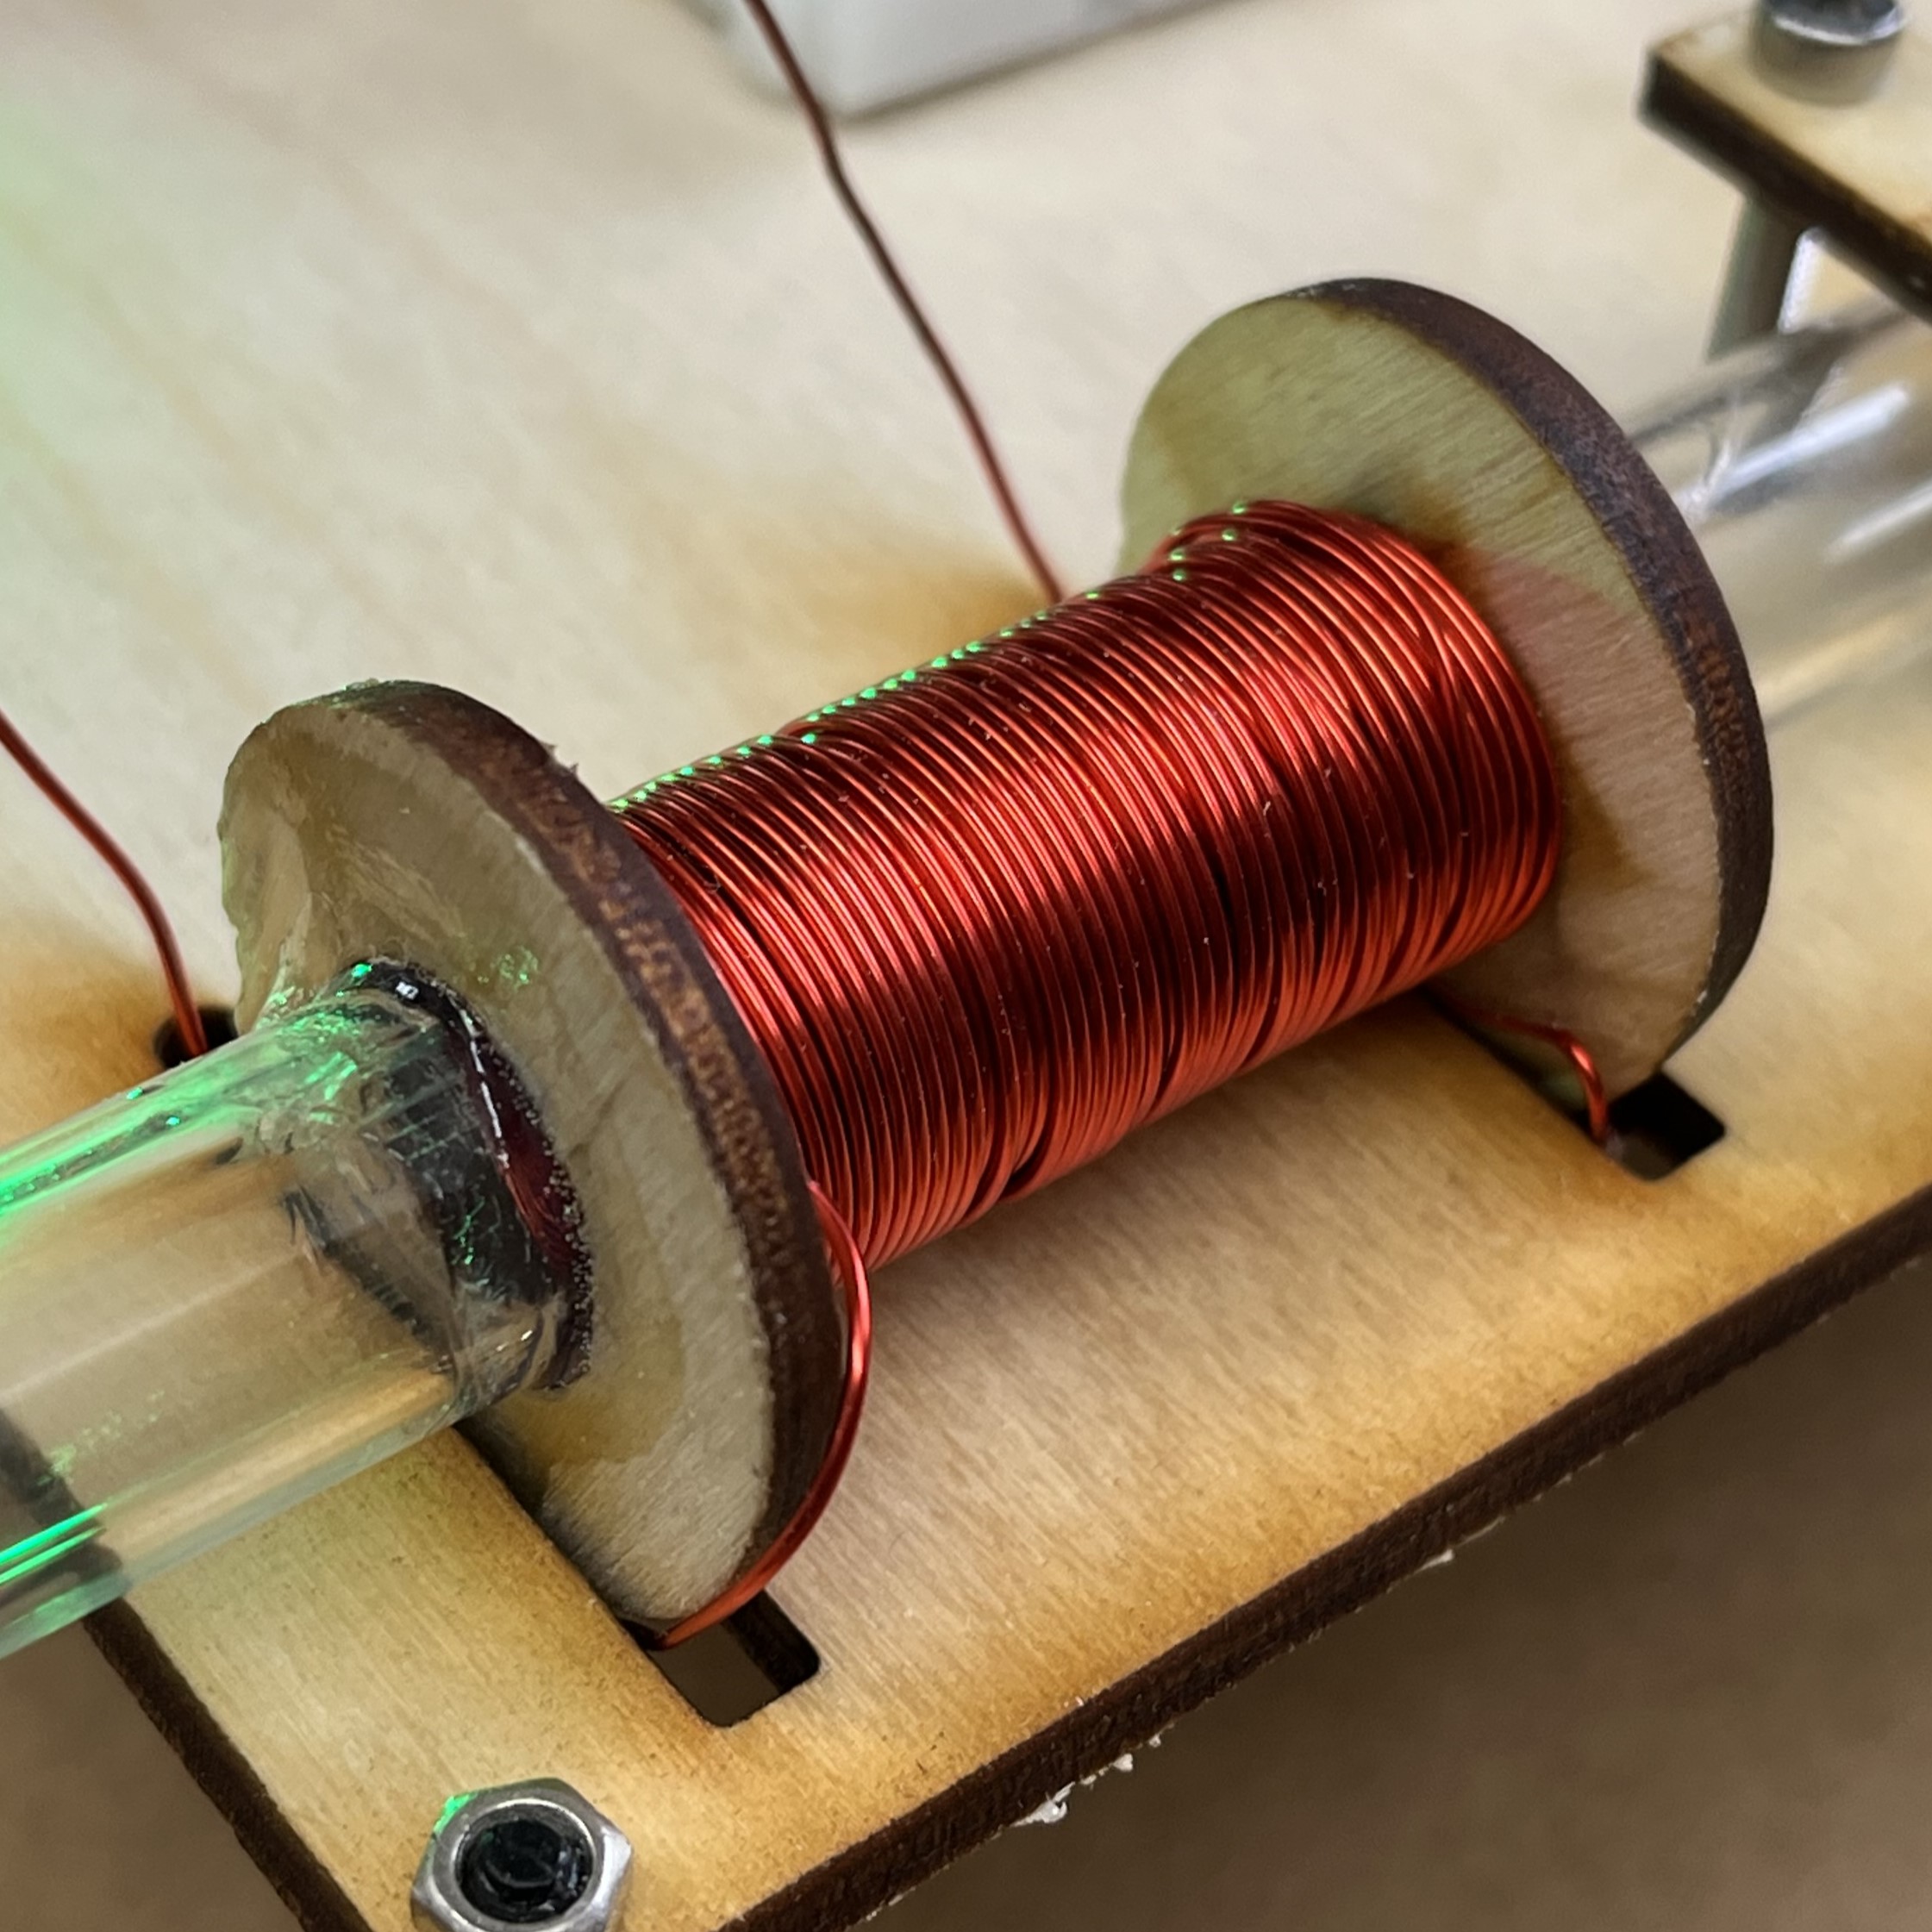
The large inductor that stores energy as a strong electromagnetic field.

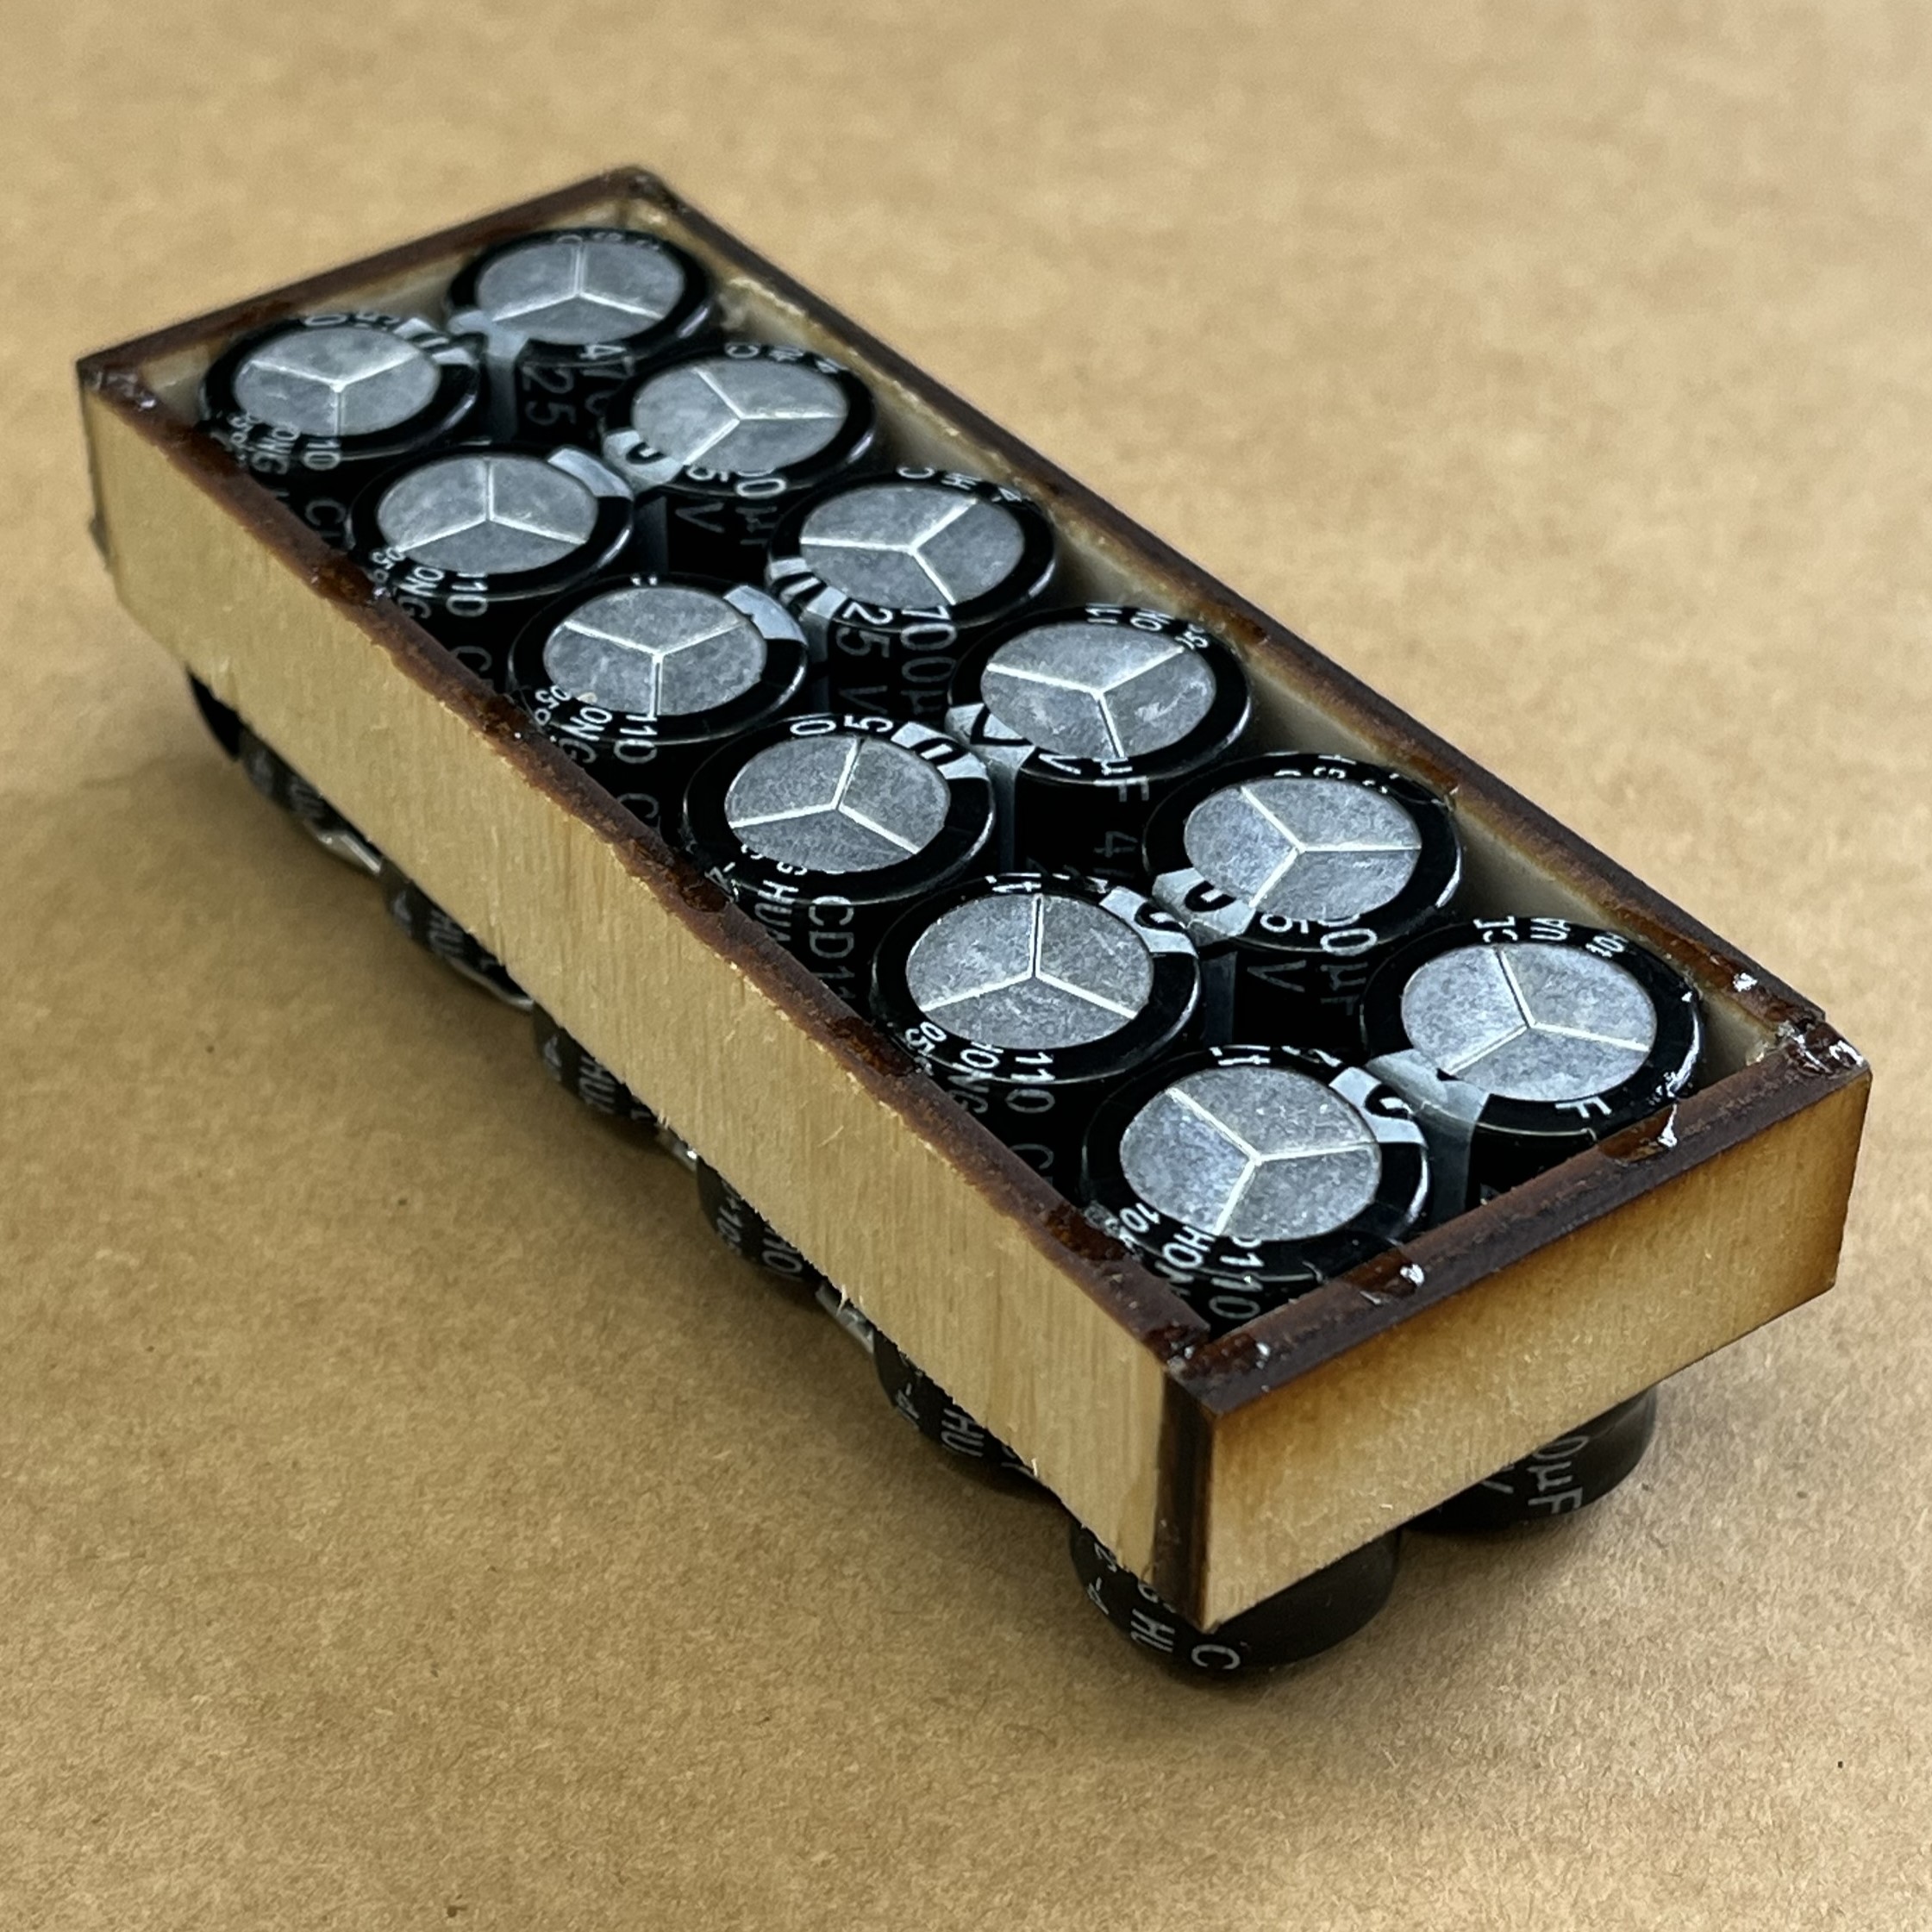
The charged capacitor cell consisting of 10 25v 4700uF capacitors in paralell.

Skills Used

Advanced Circuitry

Corel Draw

Laser Cutting

Development

I developed this Electromagnetic Launcher prototype over the course of a few weeks experimenting with different coil sizes, projectiles, voltages, and more. This iteration uses an Arduino Uno to control a Mosfet in order to achieve perfect timing of firing in the circuit and also to avoid sparking that occured previously. It induces an electromagnetic field when the trigger button is pressed for around 25 milliseconds which pulls the metal projectile toward the center of the coil before quickly toggling the mosfet off removing the field and leaving a projectile with high velocity moving toward the end of the barrel.

Microcontroller & Power

The Coil Gun's brain so to speak is controlled entirely by an Arduino Uno in this iteration being showcased. The Arduino acts as the go between between human control and actual control of the hardware, controlling indicator lights, an indicator buzzer, and taking input from the user via the trigger button. It toggles the mosfet with precise timing which controls the current flow to the current. This microcontroller and all of its associated components is powered entirely by a 9v battery making the device effectively handheld.

Circuit & Wiring

The Electromagnetic Launcher has quite a simple function yet complex wiring. The majority of this wiring isn't actually to do with the coil itself but actual majority for the indicator outputs and the button input. It also includes the important Mosfet on the breadboard (seen on the far right side) which allows switching a much higher voltage / current of an external circuit using a low 5v. This allows the low voltage microcontroller to control the high voltage capacitor bank's connection to the actual coil.

Indicators

The Electromagnetic Launcher has a few separate indicator features built into it, namely 2 LEDs and also a buzzer. The green LED is lit only when the gun is prepared and able to fire. The gun will only accept input from the user to fire it when the green light is lit. The red light on the other hand is active when the green is not, and also blinks during startup to indicator sucsess of the device in starting up. The buzzer beeps prior to firing and like the red LED the buzzer buzzes on startup indicating that the device has booted correctly.

    Socials